
You built a target account list of 500 companies. You found the right contacts at each one. Now you need their email addresses. You try a single tool and get results for maybe half. The other half? Guesses, generic addresses, or nothing at all.
This is the core problem with email prospecting. Finding emails is easy. Finding verified emails at scale is where most teams fail.
Bottom line up front: The best email prospecting workflow combines multiple finder methods (LinkedIn extraction, domain search, enrichment APIs) with a layered verification process (syntax, MX, SMTP, catch-all detection). Single-tool approaches cap out around 50-60% coverage. A waterfall approach that cascades through multiple providers pushes coverage past 80%. Verify everything before it touches your sequencer.
Why Single-Tool Email Prospecting Falls Short
Every email finder tool has a different database. Hunter indexes public web pages. Apollo maintains a proprietary contact database. Findymail focuses on LinkedIn-sourced emails with built-in verification. No single provider has complete coverage of the B2B email landscape.
The result: you run a lookup against one tool and get a hit rate somewhere between 40-65%, depending on your target audience. Tech companies with public-facing teams tend to have higher coverage. Niche industries, small companies, and recently hired employees are harder to find.
Running the same list through a second provider fills in gaps the first one missed. A third provider fills more. This is the logic behind waterfall enrichment tools. Instead of choosing one tool and accepting its blind spots, you cascade through multiple providers automatically.
Email Finder Methods: How Each One Works
Not all email discovery methods are equal. Each has strengths and weaknesses depending on what data you start with and who you are targeting.
LinkedIn Profile Extraction
Most B2B contacts have LinkedIn profiles. Tools like Findymail, Snov.io, and Apollo extract email addresses by matching LinkedIn profile data against their databases. You provide a LinkedIn URL or a name + company combination, and the tool returns an email address.
Best for: Targeted prospecting where you have identified specific people. Sales reps building account-based lists. High accuracy when the contact's LinkedIn profile is up to date.
Limitation: Requires LinkedIn profile data as input. Does not work well for contacts who are not active on LinkedIn or have privacy settings enabled.
Domain Search
Domain search tools like Hunter scan a company's domain and return all known email addresses associated with it. You input "acme.com" and get back a list of contacts with their email addresses, titles, and confidence scores.
Best for: Discovering contacts at a company when you do not have specific names. Mapping out an organization's email structure. Identifying the email pattern (first.last@, f.last@, etc.).
Limitation: Coverage depends heavily on the tool's web-crawling depth. Smaller companies may have few or no indexed emails. Results skew toward publicly visible contacts (marketing, sales, leadership).
Email Pattern Prediction
Most companies follow a consistent email pattern. If you know one person's email at a company, you can predict others. John Smith at Acme uses john.smith@acme.com. There is a good chance Jane Doe uses jane.doe@acme.com.
Best for: Quick email generation when other methods fail. Filling in gaps for contacts at companies with known patterns.
Limitation: Predictions without verification are risky. Companies change patterns. Some use different formats for different departments. Never send to a predicted email without verifying it first.
Enrichment API Cascading (Waterfall)
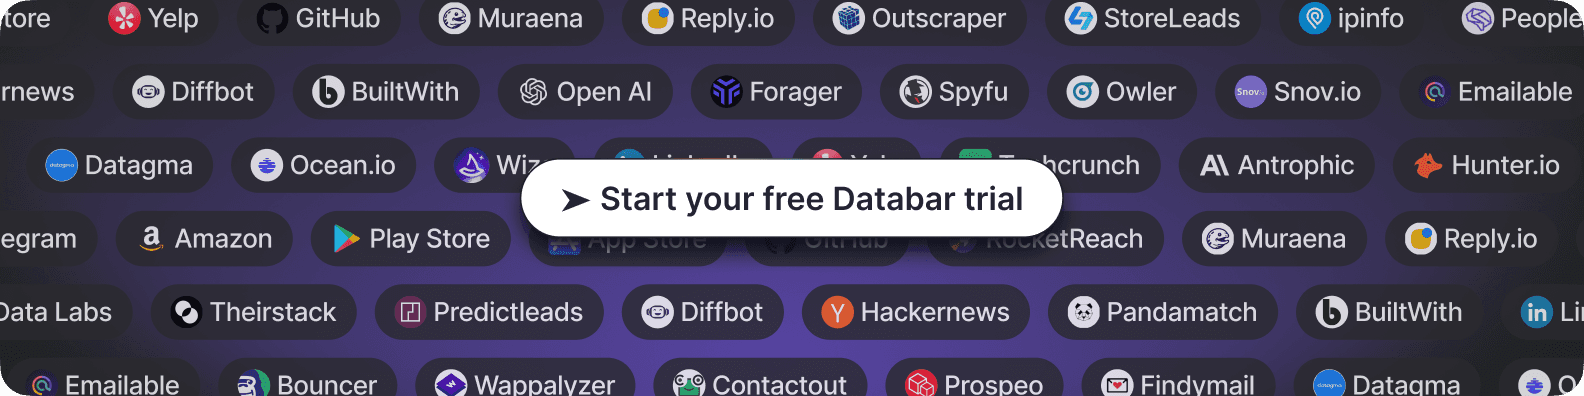
This is the highest-coverage method. An enrichment platform like Databar routes your lookup through multiple providers in sequence. If Provider A does not have the email, it tries Provider B, then C, and so on. With access to 100+ data providers, a waterfall approach covers gaps that any single tool misses.
Best for: Bulk prospecting where coverage matters more than per-record cost. Teams running outbound at scale who cannot afford 40% miss rates.
Limitation: Costs more per record than a single lookup (though less than buying separate subscriptions to multiple tools). Requires a platform that supports waterfall logic.
Email Finder Tools Compared
Here is how the most common email finder alternatives stack up for prospecting use cases.
Tool | Primary Method | Verification Built-in | Best For |
|---|---|---|---|
Hunter | Domain search, web crawling | Yes | Finding contacts at a specific domain |
Findymail | LinkedIn extraction | Yes | LinkedIn-based prospecting with high accuracy |
Snov.io | LinkedIn + domain search | Yes | Small teams needing finder + outreach in one tool |
Apollo | Proprietary database | Partial | Teams wanting a free tier with large contact database |
Databar (waterfall) | Multi-provider cascade | Yes (via verification providers) | Maximum coverage through provider diversification |
The honest truth: if you only prospect a few dozen contacts per week, any single tool works fine. The waterfall approach becomes valuable when you are running hundreds or thousands of lookups and need coverage above 70%.
The Email Verification Workflow You Need Before Sending
Finding an email address is only half the job. Sending to unverified addresses damages your sender reputation, increases bounce rates, and can get your domain blacklisted. Here is the verification stack you should run on every email before it enters your outbound sequencer.
Step 1: Syntax Check
Does the address follow valid email formatting? Correct use of the @ symbol, valid characters, proper domain structure. This is instant and catches obvious garbage like typos and formatting errors.
Step 2: MX Record Lookup
Does the domain have active mail exchange records? If a domain has no MX records, every address at that domain is invalid. No need to check further. This step eliminates expired domains, parked domains, and typo domains.
Step 3: SMTP Verification
Does the specific mailbox exist? This connects to the recipient's mail server and simulates delivery without actually sending. It catches deleted accounts, deactivated users, and addresses that were never created.
Caveat: Microsoft 365 and Google Workspace have protections that make SMTP pings less reliable than they used to be. Do not rely on this step alone.
Step 4: Catch-All Detection
Is the domain configured to accept all email regardless of whether the mailbox exists? Catch-all domains return "valid" for every address, including fake ones. Flag these as "risky" rather than "verified." Include them in campaigns cautiously and pull them immediately if they bounce.
Step 5: Disposable and Role-Based Filtering
Filter out disposable email addresses (temporary email services) and role-based addresses (info@, support@, admin@). Role-based addresses rarely belong to a single person and tend to have high complaint rates.
Running all five steps in sequence gives you a verified list with bounce rates well under 2%. Skip any step and you are taking unnecessary risk with your sender reputation.
Building Your Email Prospecting Workflow
The best teams do not treat email finding and verification as separate tasks. They build a single pipeline that handles both automatically. Here is what that looks like in practice.
Step 1: Define your target list. Start with companies and contacts from your CRM, LinkedIn Sales Navigator, or a prospecting database. You want names, titles, company domains, and LinkedIn URLs where available.
Step 2: Run email discovery. Feed your list through an email finder. For maximum coverage, use a waterfall approach that cascades through multiple providers. If you are doing reverse email lookup (starting from an email to build a profile), the process works in the opposite direction but uses the same provider infrastructure.
Step 3: Verify everything. Run the full five-step verification process on every email address. No exceptions. Even emails from "verified" databases need re-verification. Contact data decays at roughly 30% per year.
Step 4: Segment by confidence. Split your list into three buckets: verified (safe to send), risky (catch-all domains, send cautiously), and invalid (do not send). This protects your sender reputation while maximizing the number of contacts you can reach.
Step 5: Push to your sequencer. Send your verified list to your outbound tool (Smartlead, Instantly, Lemlist, or whatever you use). Only verified and risky-with-monitoring contacts should enter active sequences.
Common Email Prospecting Mistakes
Most teams lose deliverability not because their tools are bad, but because their process has gaps.
Mistake 1: Skipping verification because the tool says "verified." Every email finder tool has a different definition of "verified." Some only check syntax. Others check MX records but skip SMTP. Always run your own verification layer, even on pre-verified data.
Mistake 2: Sending to catch-all addresses at full volume. Catch-all domains can hide invalid addresses that bounce after server-side processing. Start with small batches and monitor bounce rates before scaling.
Mistake 3: Using a single provider and accepting the miss rate. If you are serious about outbound, a 40-50% miss rate means you are leaving half your addressable market on the table. Explore email enrichment tools that support multi-provider lookups.
Mistake 4: Never re-verifying your existing database. That list you built six months ago? A significant chunk of those addresses are dead. Run re-verification quarterly at minimum.
Mistake 5: Ignoring bounce data after sending. Your sequencer generates bounce data that should feed back into your contact database. Hard bounces should be flagged immediately and removed from all future campaigns.

How Email Prospecting Integrates With Your Outbound Stack
Email prospecting does not exist in isolation. It sits between your targeting process and your sending infrastructure. Here is how the pieces connect.
CRM (HubSpot, Salesforce, Attio): Your CRM holds your master contact database. New contacts from prospecting should sync back to the CRM with verification status and source information. This prevents duplicate outreach and gives your team visibility into who has been contacted.
Enrichment platform (Databar or similar): Beyond email addresses, enrichment adds firmographic data, tech stack information, and buying signals that help you prioritize and personalize. The email is just one data point. The more context you have, the better your outreach performs. Read more about improving cold email response rates with proper enrichment.
Outbound sequencer (Smartlead, Instantly, Lemlist): Your sequencer handles the actual sending, follow-up cadence, and reply tracking. It should receive only verified emails with enough context for personalization.
The tightest workflows automate the entire chain: new target identified, email found, email verified, contact enriched, pushed to sequence. Manual handoffs between tools are where data falls through cracks.
Frequently Asked Questions
What is email prospecting and how does it work?
Email prospecting is the process of finding and verifying business email addresses for outbound sales outreach. It works by using email finder tools that search databases, crawl public web data, or extract information from LinkedIn profiles to locate email addresses, then verifying those addresses through syntax checks, MX lookups, and SMTP verification before sending.
How do you find someone's business email address?
The most reliable methods are LinkedIn profile extraction (using tools like Findymail or Apollo), domain search (using Hunter), and multi-provider waterfall lookups (using Databar). Start with the method that matches your available input data. If you have a LinkedIn URL, use LinkedIn extraction. If you only have a company domain, use domain search.
What is the difference between email finding and email verification?
Email finding locates an email address associated with a person or company. Email verification confirms that the address is valid, active, and safe to send to. These are separate steps. An email finder may return an address that looks correct but bounces on delivery. Always verify after finding.
How accurate are email finder tools?
Individual email finder tools typically achieve 40-65% coverage depending on your target audience and the tool's database. Accuracy (whether found emails are actually valid) varies by tool. Some tools include built-in verification while others return unverified results. Using a waterfall approach across multiple providers pushes total coverage above 80%.
What is waterfall email enrichment?
Waterfall enrichment routes a lookup through multiple data providers in sequence. If the first provider does not find the email, the system automatically tries the second, then the third, and so on. This approach maximizes coverage because each provider has different data sources. Platforms like Databar support waterfall logic across 100+ providers.
How often should you re-verify your email list?
Re-verify your email list at least quarterly. B2B contact data decays at roughly 30% per year, which means about 7-8% of your list goes stale every quarter. If you are running high-volume outbound campaigns, monthly re-verification of your active sending lists is worth the investment to protect your sender reputation.
Also Interesting
Recent articles
See all


